Scanning Systems
Warehouse barcode and scanning systems
Plan warehouse identifiers, labels and scanning controls, then check how each scan affects the task and stock record.
A warehouse scanning system works when three parts align: a label identifies the right object or place, a device reads it, and the application checks that value against the current task. Define the identifiers and confirmation points before choosing labels or devices.
Decide what each code identifies
A product barcode may identify a trade item; a location code identifies where work occurs. For an SSCC, consult applicable GS1 Australia guidance on its use in logistics.
Keep an identifier register. For each code, record what it identifies, who assigns it, which application owns the matching record and which reuse rules apply. Decide how staff should distinguish a supplier's product barcode from internal and shipping labels when several codes appear on one carton.
Place scans where they support a decision
| Task | Possible scan | Application check |
|---|---|---|
| Receiving | Product or logistic unit | Does it match the expected delivery and unit of measure? |
| Putaway | Goods and destination | Does the record show where the goods were placed? |
| Picking | Location and product | Do both match the open task? |
| Packing | Item and order or container | Are the right items and quantities attached to this parcel? |
| Movement | Goods and locations | Does the movement record match the physical hand-off? |
These are possible controls, not a requirement to scan at every step. A successful decode tells the application what the symbol contains; the application must still decide whether that value is valid for the task. Specify the response to an unreadable label, unexpected code, repeat scan and quantity mismatch. If staff may enter a code manually, make that route visible and controlled.
Match the symbol and label to the journey
Follow applicable trading partner or GS1 rules for externally exchanged labels. Internal location labels can use the warehouse's own scheme if its devices and applications recognise the codes consistently.
Choose a printed label that stays legible for its expected life. Symbol size, clear space, contrast, placement and print quality affect reading. Reflective surfaces and transparent wrap can interfere with reading. Test the finished label on its intended surface after normal handling, especially when it will face rubbing, cleaning or moisture.
Choose how workers capture the code
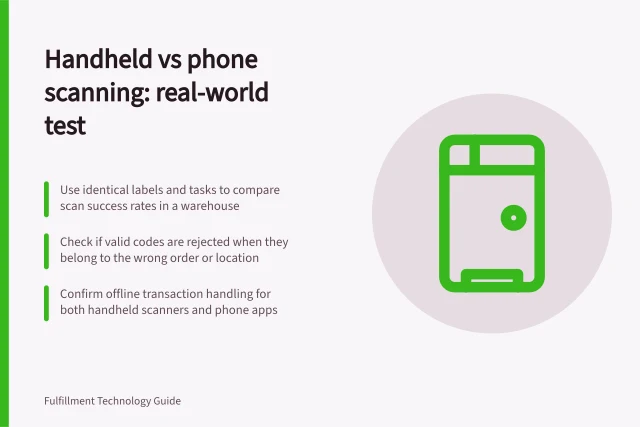
A separate handheld scanner, a mobile computer with an integrated imager and a phone camera app can all supply decoded data. Compare them on the actual symbols, reading distances, handling steps and feedback workers need.
Check how the value reaches the application. Some scanner software sends it as keystrokes, so the active field and any automatic Enter or Tab action matter. Camera apps depend on the supported formats, focus and enough image detail.
A device's ability to decode offline does not establish that a warehouse transaction was saved. Ask what the proposed application shows during a network interruption, whether it queues work and how staff reconcile pending records. Check those behaviours in the proposed configuration.
Configure decoding and feedback
Scanner profiles can determine which hardware captures a code and which decoders process it. Zebra DataWedge supports common formats including Code 39, Code 128, Data Matrix, EAN-13, PDF417, QR Code, UPC-A and UPC-E; confirm the formats in use are enabled in the proposed configuration.
A capture route can also provide feedback after a scan. Zebra DataWedge can use audio and other feedback to alert workers to scan results and barcode type, helping make the interaction clear at the point of capture.
Where decoded data is sent as keystrokes, configure the action after the value with the destination application in mind. Zebra DataWedge can send special characters such as Tab and Enter; key events may arrive asynchronously, so a delay can be relevant when text and key events need to arrive in the correct order.
Key Barcode Format Support in Zebra DataWedge
- Supported Formats
- Code 39, Code 128, Data Matrix, EAN-13, PDF417, QR Code, UPC-A, UPC-E
- Default Enabled?
- Yes, most common formats are enabled by default
- Custom Configuration Required?
- Only for rare or non-standard formats
- Cross-Platform Compatibility
- Android and iOS (via SDK integration)
Plan camera-app readiness
For an Android camera route using Google ML Kit, choose whether the barcode model is bundled with the app or obtained through Google Play services. The bundled model increases app size by about 2.4 MB and is available immediately; the unbundled option adds about 200 KB, but the model may need to download before the first scan can return results.
Camera capture also depends on image detail. Google ML Kit's guidance says the smallest meaningful barcode unit should generally be at least 2 pixels wide, and for two-dimensional codes, 2 pixels tall; requirements vary with the barcode type and encoded data.
Pros and Cons of Using Google ML Kit for Barcode Scanning on Android Devices
- ProsSupports multiple barcode formats including QR Code, Data Matrix, EAN-13, and PDF417.
- ProsLightweight model (200 KB) when downloaded via Google Play Services — saves app size.
- ProsWorks offline after first download; no need for constant internet access.
- ConsBundled model increases app size by ~2.4 MB — can affect user adoption.
- ConsFirst scan may fail if model hasn't downloaded yet — requires pre-download or error handling.
- ConsPerformance depends heavily on image quality and minimum pixel requirements (e.g., 2 pixels wide for 1D codes).
Start with a bounded rollout
Use one area or task with dependable item and location records. Print the proposed labels, configure the capture route and trace ordinary and exception cases through to the saved warehouse record. Record unreadable codes, wrong values accepted, correct values rejected, manual entries and missing transactions. Resolve the causes before extending the setup.
If the rollout uses an Android camera app, confirm how the application signals that scanning is not yet available and what workers should do before recording the transaction.
Steps for a Bounded Rollout of a Warehouse Scanning System
- Select a Test Area or TaskChoose one zone with reliable item and location records (e.g., inbound receiving or picking).
- Print Proposed LabelsUse GS1 Australia guidelines to ensure label legibility and compliance with logistics standards.
- Configure Capture RouteSet up scanner or camera app with correct decoding settings (e.g., DataWedge profiles or ML Kit models).
- Simulate Normal and Exception CasesTest unreadable labels, wrong codes, repeat scans, quantity mismatches, and manual entry fallbacks.
- Record and Analyse IssuesDocument all failures: rejected valid codes, accepted invalid ones, missing transactions.
- Resolve Root CausesAdjust label quality, improve placement, fix software logic, or retrain staff before scaling.
- Expand GraduallyRoll out to additional zones only after resolving all issues in the initial test phase.
In this guide
- Choosing barcode labels for warehouse conditionsChoose barcode label material, adhesive and print method for actual warehouse surfaces and exposure, then check the printed result.
- Comparing handheld scanners with mobile scanning appsCompare handheld and camera-app scanning by task flow, barcode support, data entry, device handling and transaction recovery.
- Testing scan accuracy before a warehouse rolloutDesign a warehouse scan trial that separates unreadable labels, wrong targets, incorrect acceptance and missing transactions.